Controlling Mujoco-HalfCheetah using REVIVE SDK

Mujoco-HalfCheetah Task Description
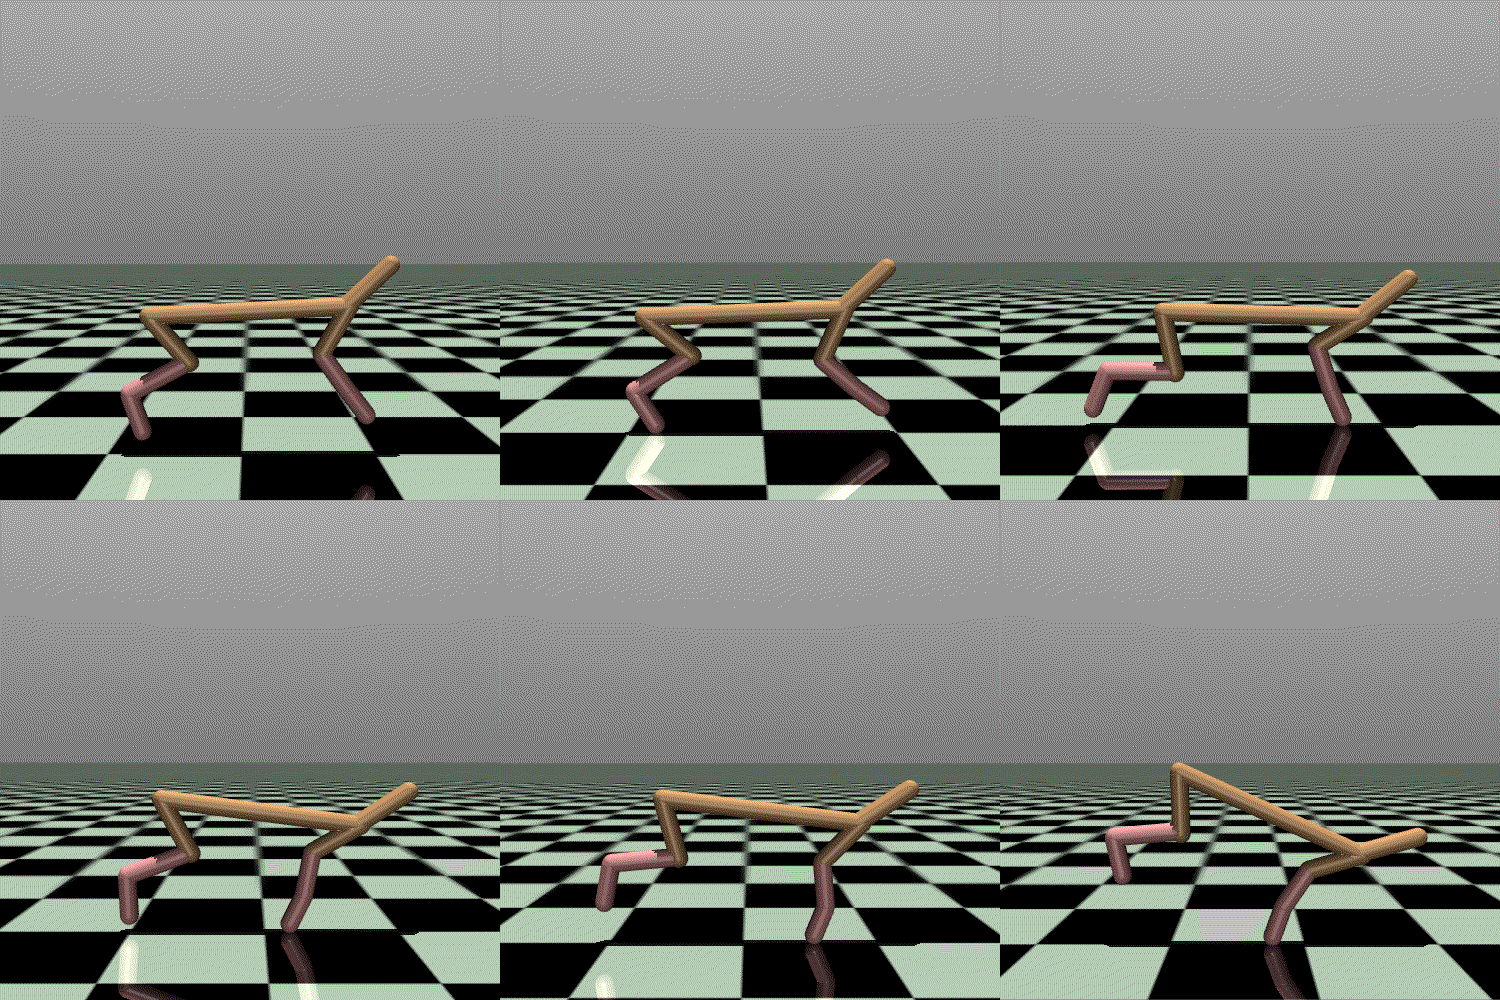
HalfCheetah is a classic control problem in traditional reinforcement learning.
Action Space |
Continuous(6,) |
Observation |
Shape (17,) |
Observation |
High [inf inf inf inf inf inf inf inf inf inf inf inf inf inf inf inf inf] |
Observation |
Low [-inf -inf -inf -inf -inf -inf -inf -inf -inf -inf -inf -inf -inf -inf -inf -inf -inf] |
A detailed description of this task can be found at Mujoco-HalfCheetah. D4RL is a classic offline reinforcement learning dataset. And in this example, we will use REVIVE to train with the halfcheetah-medium-v2 dataset from D4RL. Below, we will demonstrate how to use REVIVE to train an ideal environment and policy on the halfcheetah-medium-v2 dataset. Finally, we will compare the original policy in the dataset with the policy obtained from REVIVE to demonstrate the powerful capabilities of REVIVE.
Action Space
Action Space consists of 6 dimensional vector. Each entry describes the torque of each joint. Value in each entry is in range [-1, 1].
Observation Space
The state is a 17-dimensional vector, including the angle of each joint, the angular velocity, and the velocity of the robot on the \(X\) axis, \(Z\) axis, and the height of the robot.
Goals of Mujoco-HalfCheetah
The goal of the robot is to run forward as much as possible within a fixed number of steps, while keeping its own energy consumption small. This is also reflected in the definition of the reward function.
Initial State
The robot starts from the origin and is ready to run forward from the initial state.
End of task
The task will be forced to stop after the robot runs 1000 steps.
Use the REVIVE SDK to train control strategies
REVIVE SDK is a tool driven by historical data. According to the description in the tutorial part of the document, using the REVIVE SDK on the HalfCheetah task can be divided into the following steps:
Process historical decision data;
Combining business scenarios and collected historical data to build Decision flow diagram and array data, where the decision flow diagram mainly describes the interaction logic of business data, Use the
.yamlfile for storage, and the array data stores the node data defined in the decision flow graph, and use the.npzor.h5file for storage.With the above-mentioned decision flow graph and array data, REVIVE SDK can already train the virtual environment model. But in order to obtain a better control strategy, it is necessary to define according to the task goal reward function, the reward function defines The optimization goal of the strategy can guide the control strategy to make the robot run faster and more stably.
After defining Decision Flow Graph, Training Data and Reward Function After that, we can Use the REVIVE SDK to start virtual environment model training and policy model training.
Finally, the policy model trained by the REVIVE SDK is tested online.
Prepare Data
Here we don’t need to manually collect historical data, because the D4RL library already provides standard offline historical data. First, we need to download and preprocess the D4RL dataset so that it conforms to the input form of REVIVE.
Data Processing script is in data/generate_data.py. We could run the following command to get the processed dataset in data directory.
python generate_data.py
There are a few things to note here:
Trajectory segmentation: As mentioned in data_preparation, the REVIVE requires
indexinformation in dataset, which we need to construct from the halfcheetah-medium-v2 dataset. Specifically, we split the trajectory based on whetherobsis consistent withnext_obs.Restoration of
delta_x: Since the halfcheetah-medium-v2 dataset does not directly provide x-coordinate information, which is particularly important for calculating reward in the HalfCeetah task. We restore thedelta_xusing therewardin the dataset. Here:
Processing details refers to data/generate_data.py.
Now we have the .npz file. We put it in the data/ directory.
Define Decision Flow
The following example shows detailed information in the .yaml file.
Typically, there are two parts of information that make up the .yaml file: graph and columns.
The graph section defines the decision flow, and the columns section defines the composition of the data.
Please refer to the documentation for details: data_preparation.
Note that because obs has 17 dimensions, the columns of obs should be defined in order .
As shown in Mujoco-HalfCheetah,
states and actions are continuous variable, and we use continuous to describe each column of data.
In addition, note that we define the min and max range of delta_x as [-1, 1].
This is because in policy training, the delta_x at each step may exceed the range of the dataset (the delta_x in the dataset is about [-0.12, 0.43]).
This has a significant impact on the data normalization processing in REVIVE.
By default, REVIVE will read the min and max values from the dataset for normalization.
metadata:
  columns:
  - obs_0:
      dim: obs
      type: continuous
  - obs_1:
      dim: obs
      type: continuous
  ...
  - obs_16:
      dim: obs
      type: continuous

  - action_0:
      dim: action
      type: continuous
  - action_1:
      dim: action
      type: continuous
  ...
  - action_5:
      dim: action
      type: continuous

  - delta_x:
      dim: delta_x
      type: continuous
      min: -1
      max: 1

  graph:
    action:
    - obs
    delta_x:
    - obs
    - action
    next_obs:
    - obs
    - action
    - delta_x
Now we have the .yaml file, which we will also put in the data/ folder.
Building the Reward Function
Here we can use the reward function defined in Mujoco-HalfCheetah. Please refer to HalfCheetah-Env for details.
import torch
import numpy as np
from typing import Dict


def get_reward(data : Dict[str, torch.Tensor]) -> torch.Tensor:
    action = data["action"]
    delta_x = data["delta_x"]

    forward_reward_weight = 1.0
    ctrl_cost_weight = 0.1
    dt = 0.05

    if isinstance(action, np.ndarray):
        array_type = np
        ctrl_cost = ctrl_cost_weight * array_type.sum(array_type.square(action),axis=-1, keepdims=True)
    else:
        array_type = torch
        # ctrl_cost represents the physical cost of doing action, which is the square of the L2 norm of action
        ctrl_cost = ctrl_cost_weight * array_type.sum(array_type.square(action),axis=-1, keepdim=True)

    x_velocity = delta_x / dt
    # forward_reward represents the reward for halfcheetah's forward motion, the larger the x_velocity, the higher the reward value
    forward_reward = forward_reward_weight * x_velocity

    # The final reward obtained by halfcheetah is composed of forward_reward and ctrl_cost
    # This also corresponds to the goal of the halfcheetah task: within a fixed number of steps, halfcheetah needs to run forward as much as possible while keeping its own energy consumption low
    reward = forward_reward - ctrl_cost

    return reward
Now we have the reward function file, which we will also put in the data/ folder.
Training the Policy using REVIVE SDK
Now that we have built all the necessary files to run the REVIVE SDK, including the .npz data file, the .yaml file, and the reward.py function.
There is also another file config.json that stores the hyperparameters needed for training.
These four files are located in the data/ folder.
Our file directory now looks like this:
|-- data
|   |-- config.json
|   |-- generate_data.py
|   |-- halfcheetah_medium-v2.hdf5
|   |-- halfcheetah-medium-v2.npz
|   |-- halfcheetah-medium-v2.yaml
|   `-- halfcheetah_reward.py
`-- train.py
Users can switch to the examples/task/HalfCheetah directory and run the following Bash command to start virtual environment model training and policy model training. During the training process, we can use tensorboard to open the log directory at any time to monitor the training process.
python train.py -df data/halfcheetah-medium-v2.npz -cf data/halfcheetah-medium-v2.yaml -rf data/halfcheetah_reward.py -rcf data/config.json --target_policy_name action -vm once -pm once --run_id halfcheetah-medium-v2-revive --revive_epoch 1500 --sac_epoch 1500
Note
The REVIVE SDK has provided the data and codes required for training. For details, please refer to REVIVE SDK Source Code Library.
Using the trained policy to control HalfCheetah
After REVIVE SDK completes virtual environment model training and policy model training,
We can find the saved model ( .pkl or .onnx) under the logs folder ( logs/<run_id>).
We tested the effectiveness of the policy in a real environment and compared it with the control effect in the data.
In the testing code below, we ran the policy in a real environment for 100 rounds, each round performing 1000 steps and outputting the total average return (cumulative reward) for these 100 rounds.
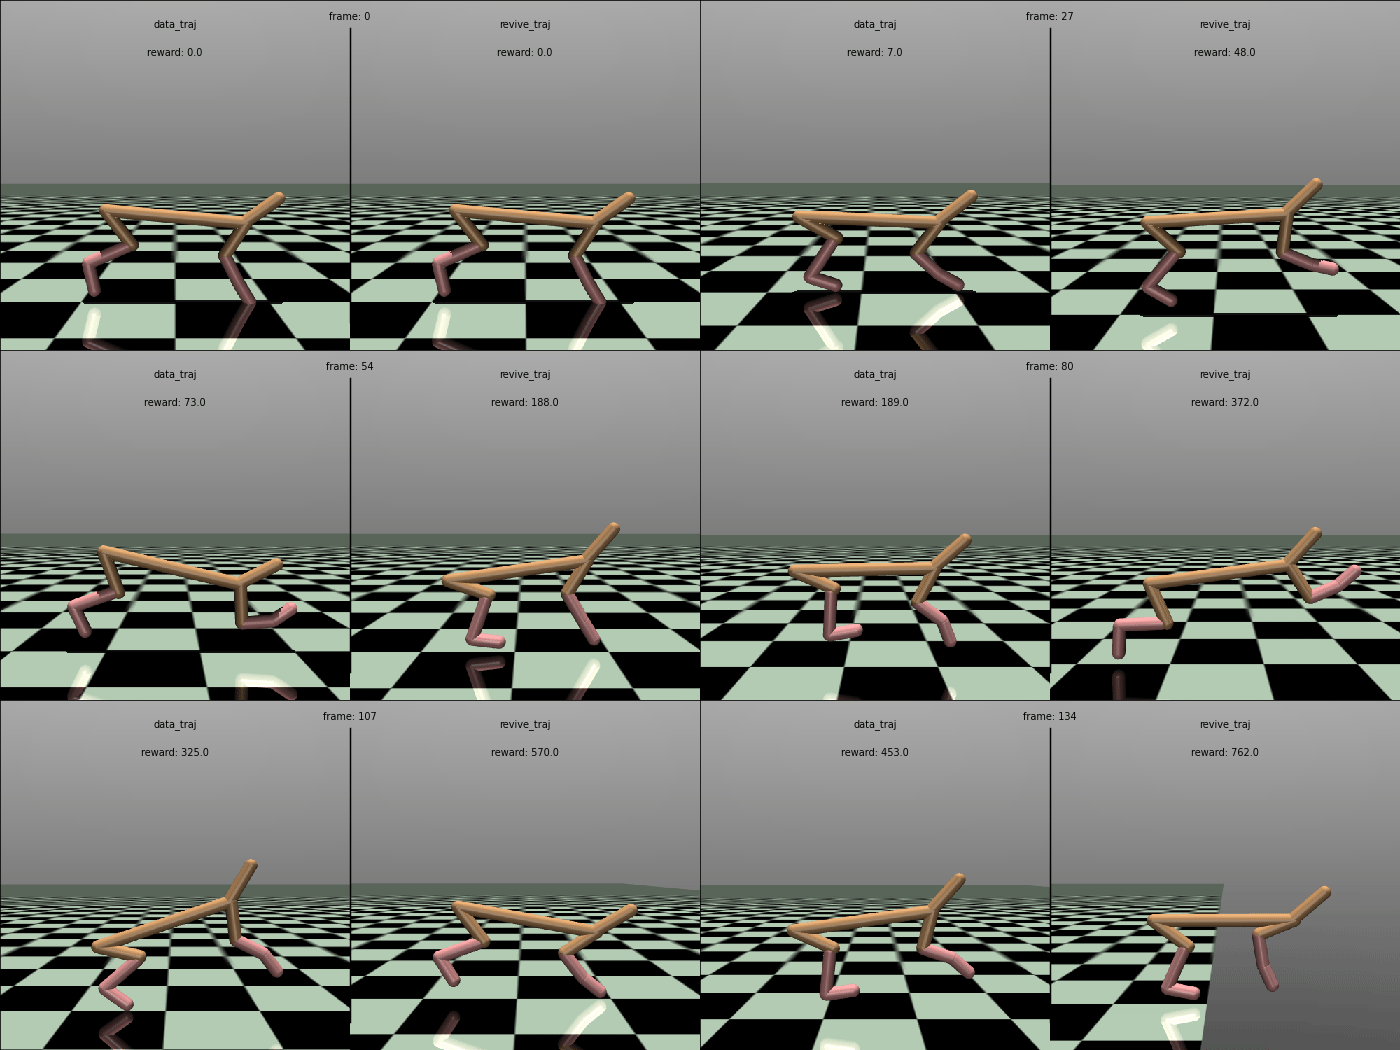
The policy obtained from the REVIVE SDK has an average reward of 7156.0, which is much higher than the reward of the original policy in the data, which is 4770.3.
The control effect has improved by about 50%.
 import numpy as np
 import gym
 import pickle
 import d4rl

 def take_revive_action(state):
     new_data = {}
     new_data['obs'] = state
     action = policy_revive.infer(new_data)
     return action

 policy_revive = pickle.load(open('policy.pkl', 'rb'))
 env = gym.make('halfcheetah-medium-v2')

 re_list = []
 for traj in range(100):
     state = env.reset()

     obs = state
     re_turn = []
     done = False
     while not done:
         action = take_revive_action(obs)
         next_state, reward, done, _ = env.step(action)
         obs = next_state
         re_turn.append(reward)

     print(np.sum(np.array(re_turn)[:]))
     re_list.append(np.sum(re_turn))

 print('mean return:',np.mean(re_list), ' std:',np.std(re_list), ' normal_score:', env.get_normalized_score(np.mean(re_list)) )

# REVIVE average return:
# mean return: 7155.900144836804  std: 63.78200350280033  normal_score: 0.5989506173038248
To visually compare the policies, we generate a control comparison animation of the policy. We could see that the REVIVE SDK’s policy can control the HalfCheetah to run faster and more stable, which is superior to the original policy in the data.
